⚙
Installation Guide
WARNING: Please use professional and appropriate protective equipment to prevent electric shock and ensure safety.
Step 1: Before installing, ensure the circuit is powered off. Live installation requires certified professional personnel.
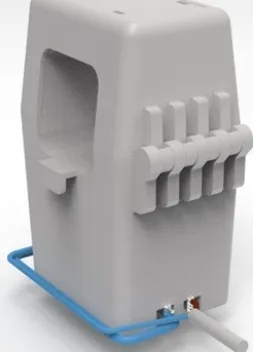
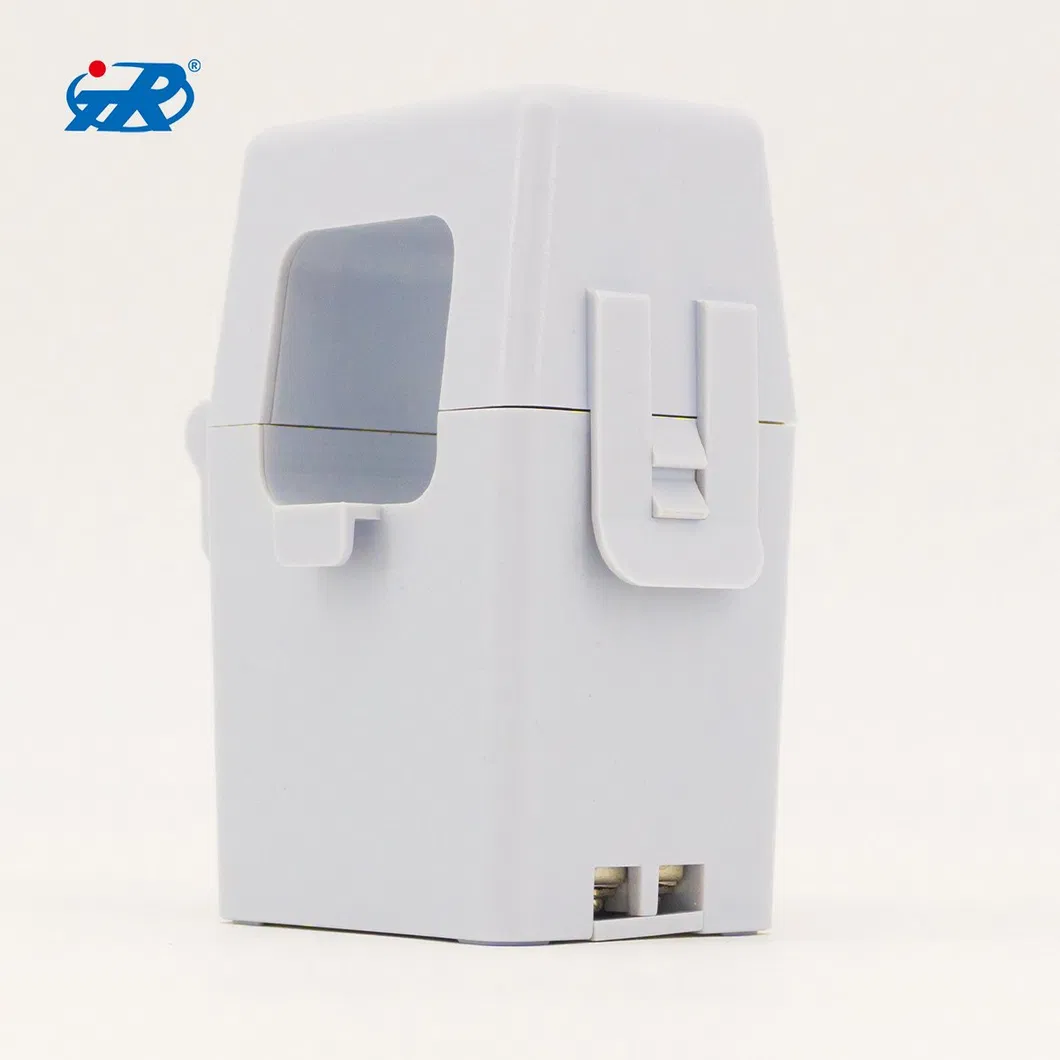
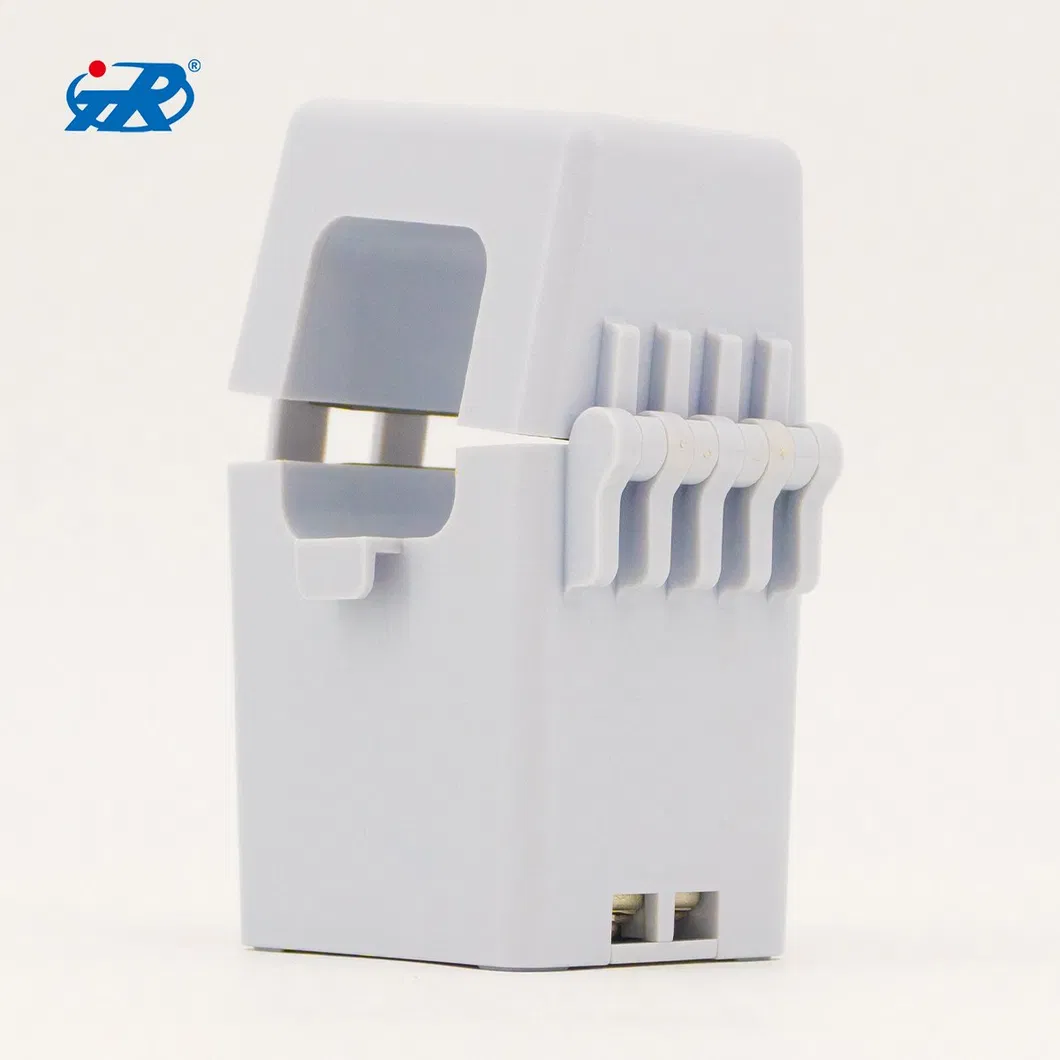
Step 2: Open the protective cover and connect the wires to the terminal output and measuring equipment.
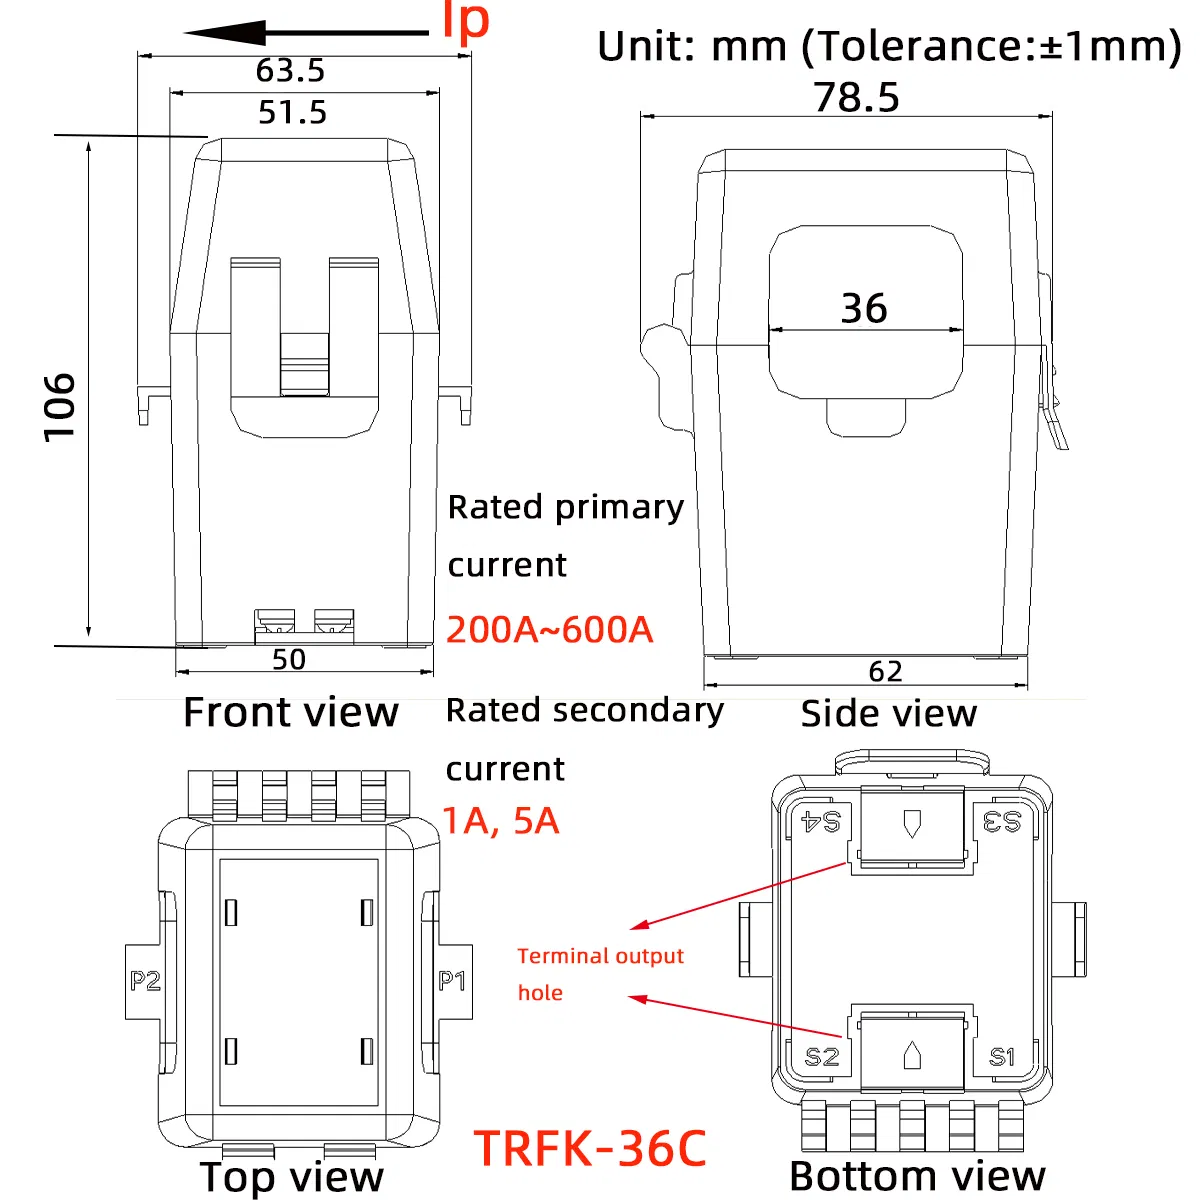
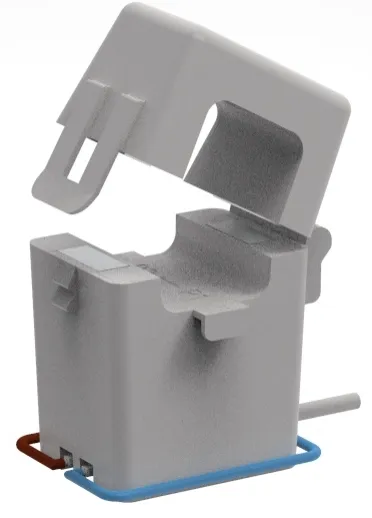
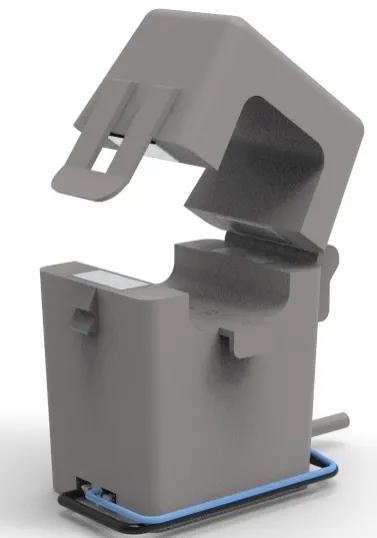
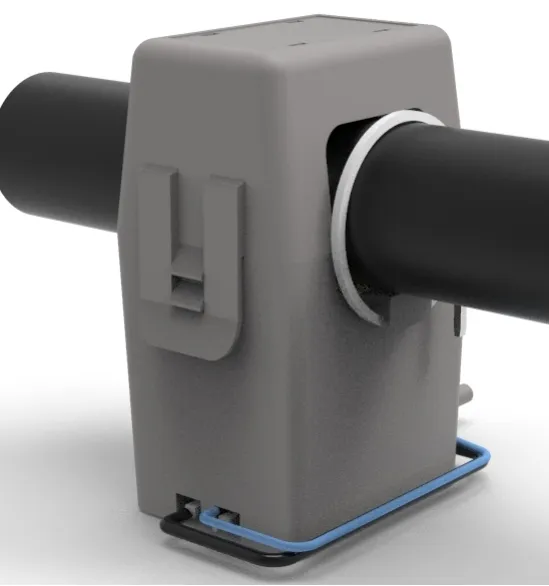
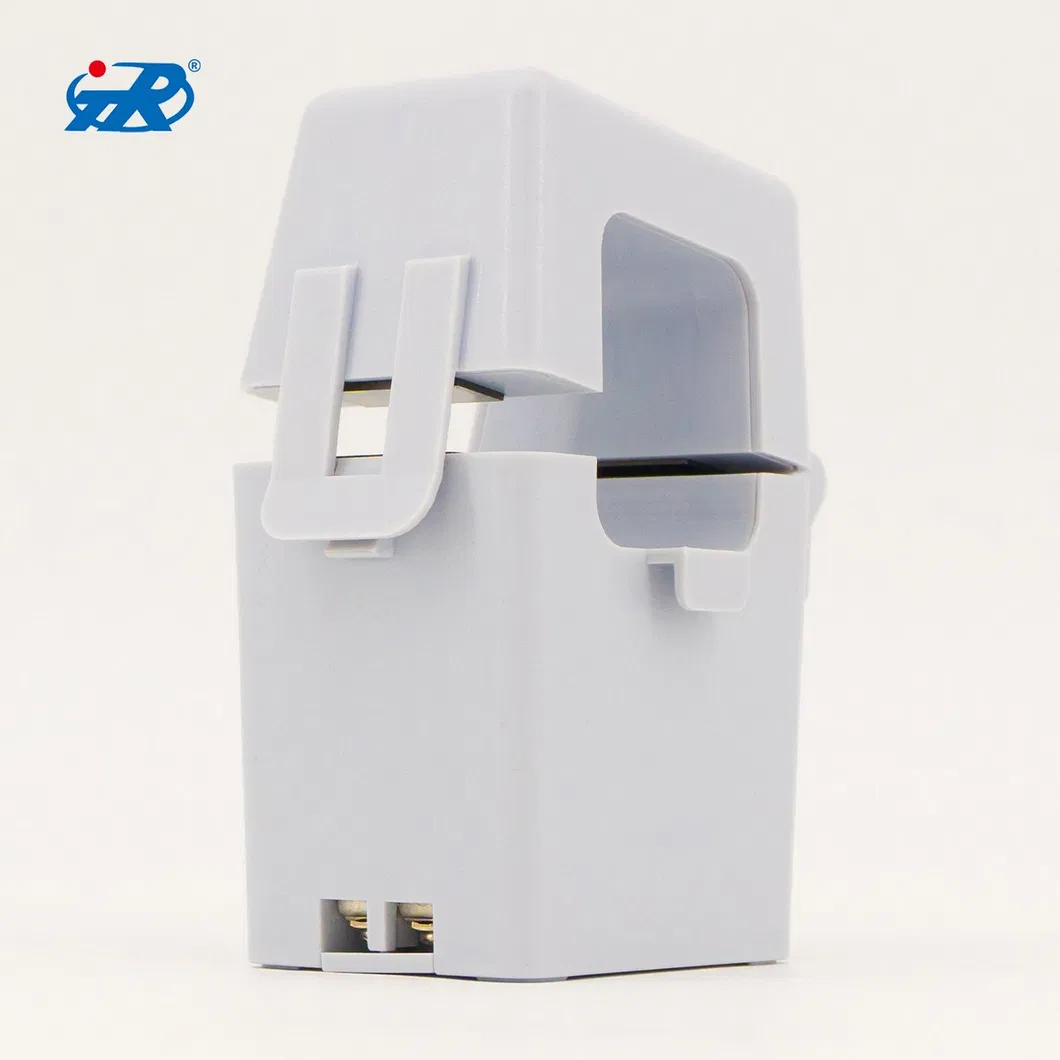
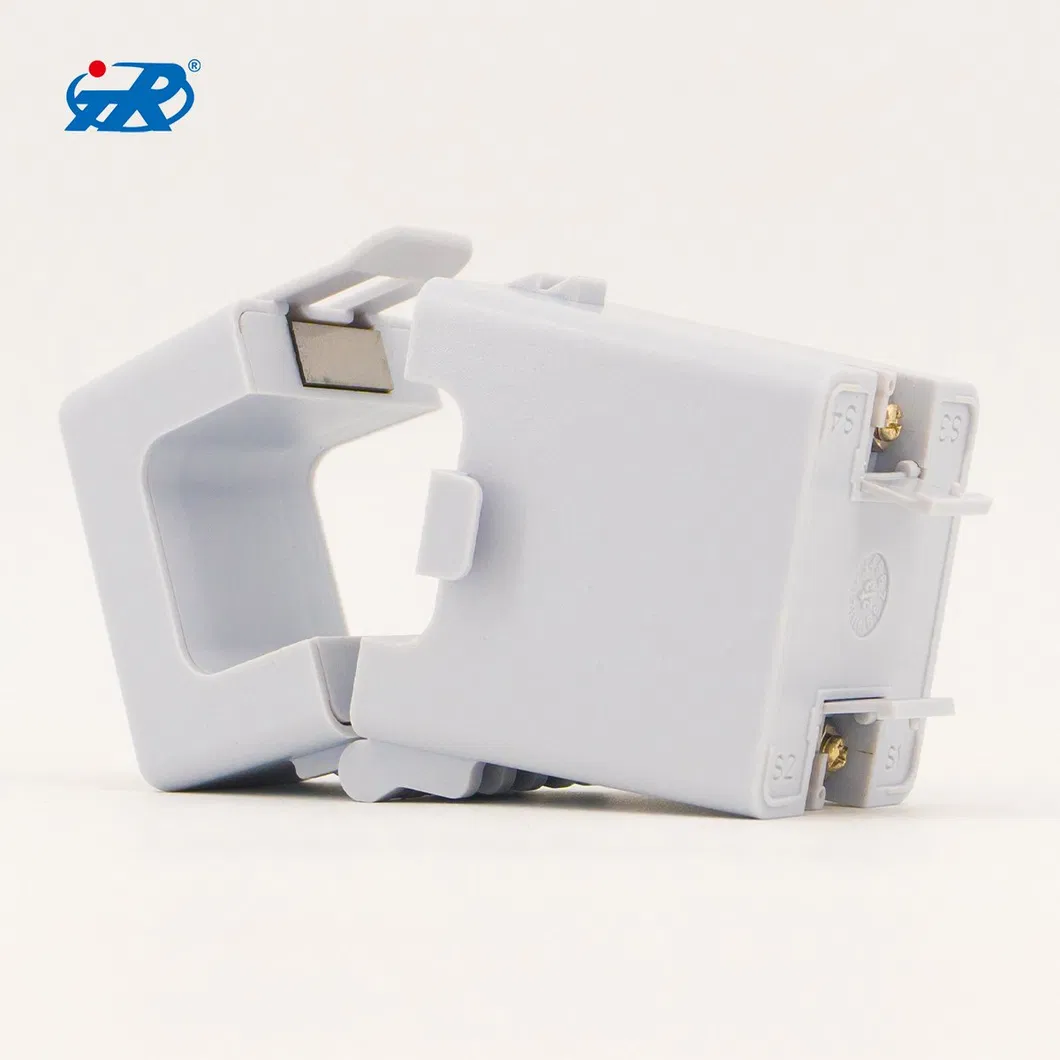
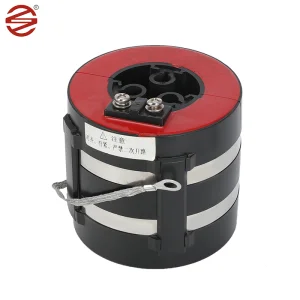
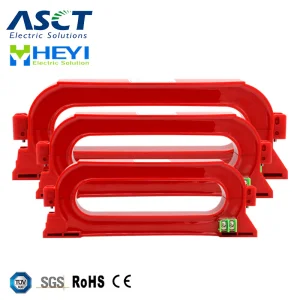
Step 3: Open the transformer latch. Place the cable inside the 36mm hole.
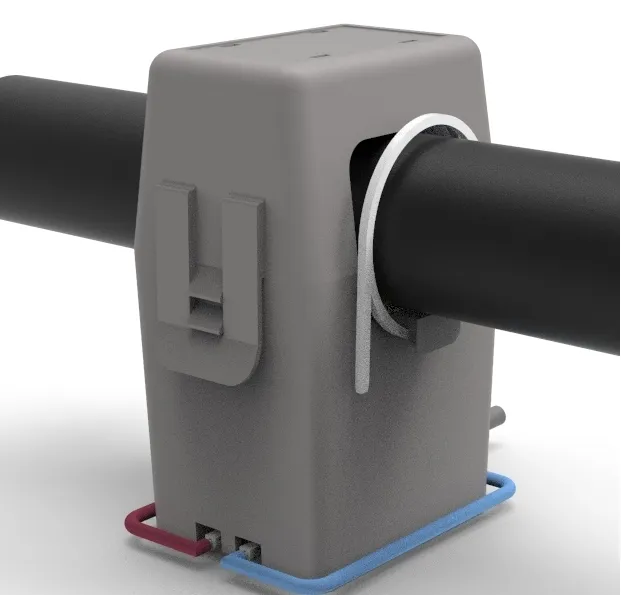
Step 4: Ensure the cable current direction matches the arrow on the CT. Lock the latch and secure with nylon ties.
?
Frequently Asked Questions
Q1: Can this current transformer be installed on a live circuit?
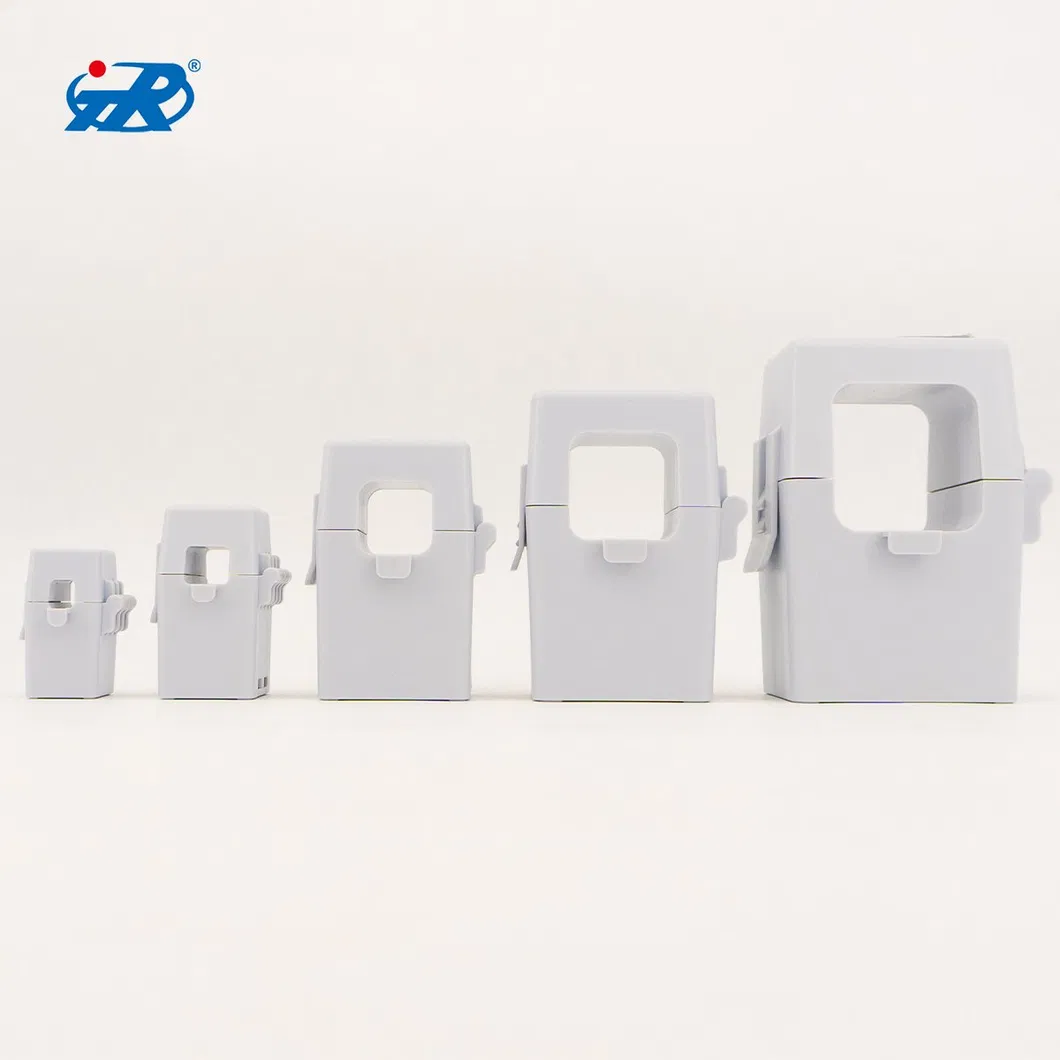
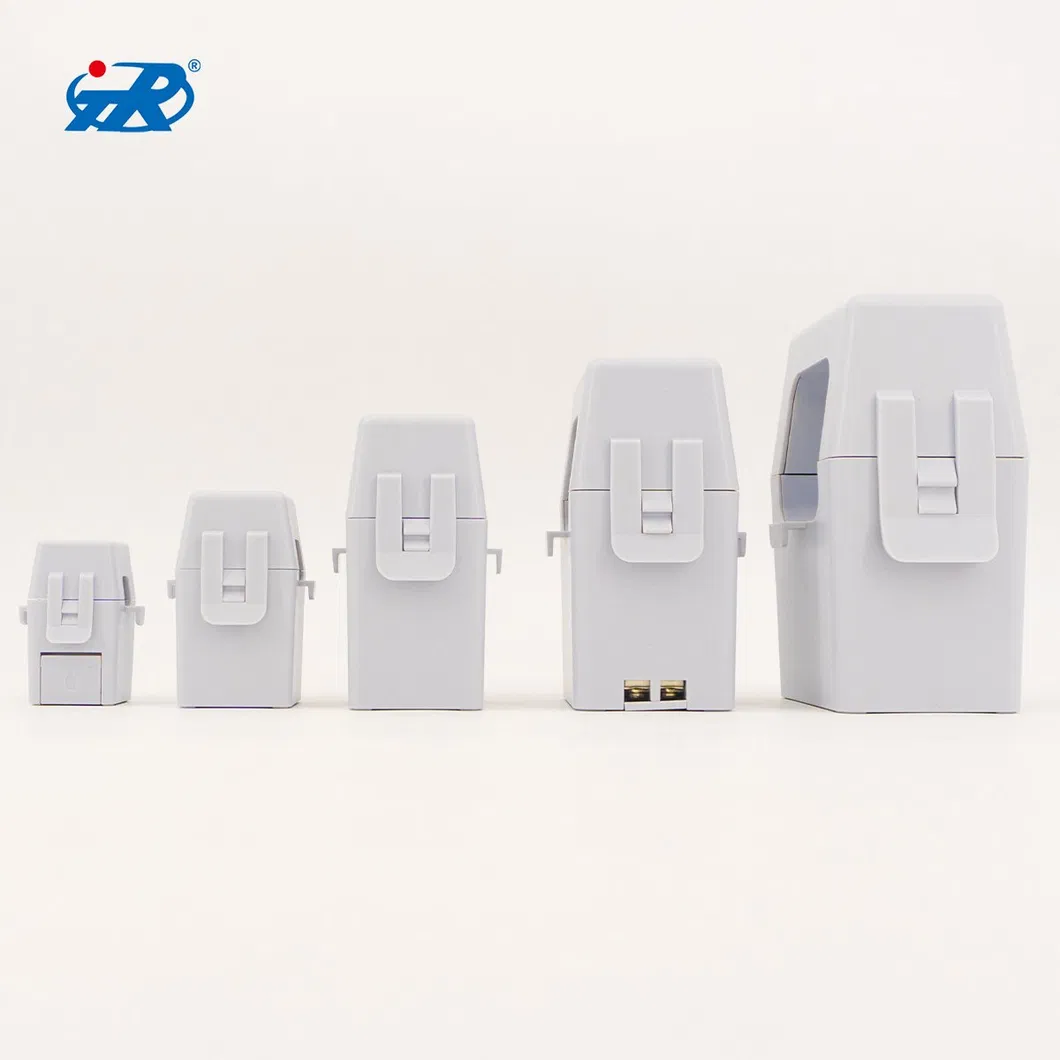
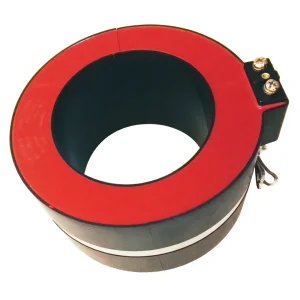
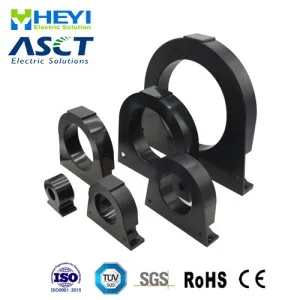
A1: Yes, the split-core design allows for installation on existing power lines without disconnecting the circuit, though it must be performed by qualified professionals using protective gear.
Q2: What is the maximum cable size this CT can accommodate?
A2: This specific model (TRFK-36C) has an aperture of 36mm, suitable for cables with a diameter up to that size.
Q3: What are the primary current ranges supported?
A3: The TRFK-36C-2 supports a wide rated primary current range from 200A to 600A.
Q4: What is the accuracy class of this transformer?
A4: It provides high-precision measurement with a ratio error of ±0.5% or ±1.0%, depending on the specific configuration.
Q5: Is it suitable for outdoor environments?
A5: This model is primarily designed for indoor operating conditions with a temperature range of -25ºC to +75ºC.
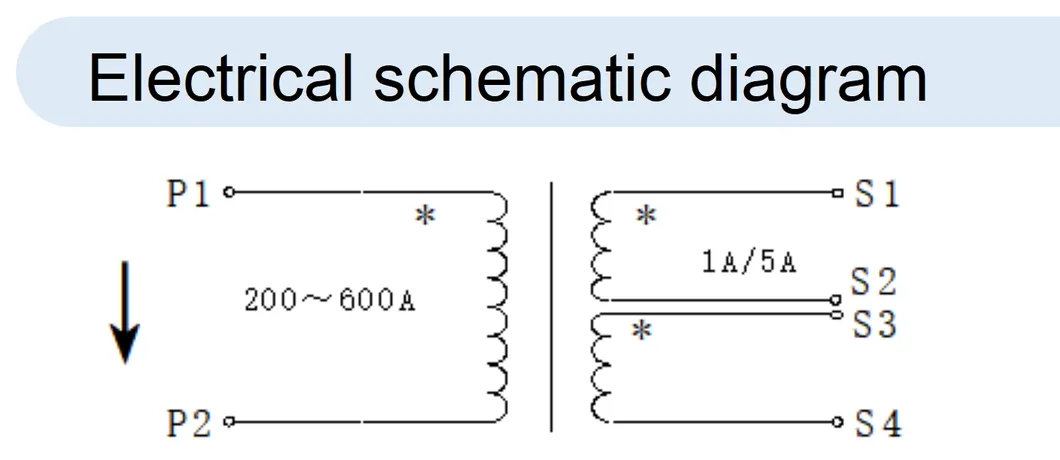
Q6: What is the difference between parallel and series winding connections?
A6: Parallel connection is typically used for lower input currents (e.g., 200A/5A), while series connection can be adapted for higher current requirements (e.g., 400A) as per the wiring diagram.